WordPress is one of the most popular and simple-in-use CMS in the world that makes it the best choice for your website.
You can install the WordPress from the official website.
To get more information on the WordPress, you may visit the WordPress Codex page.
Theme requirements
Check the recommended server configuration for proper theme functioning:
- PHP version 5.6 and higher
- memory_limit – 128M
- max_execution_time – 120
- max_input_time – 60
- upload_max_filesize – 30M
- max_input_vars – 3000
Make sure your server is set up properly and the theme and content will be loaded correctly. Enough server configuration will also ensure fast speed and increase performance.
Theme Installation
Watch the video tutorial on Native theme installation for more details.
After purchasing the Native theme you have to install it to on your site.
You can find the detailed instructions on how to accomplish the installation below.
The theme can be installed on your site in two ways:
- via WordPress admin Panel.
- via FTP.
Before theme installation, there are some preparatory steps to be followed.
Navigate to Themeforest account and access Downloads in the profile.
You’ll see the Download button in front of Native theme. After you click it, you’ll get the options to download all files in zip-archive, licenses and purchase code, or installable pack only.
We’d recommend you to install all files of the theme.
![]()
Please, unzip the archive on your computer. You’ll get the themeforest-19200310-native-powerful-startup-development-tool folder. All the information you may need is located in it.
WordPress Admin Panel Installation
Below you may find short instruction on Native theme installation.
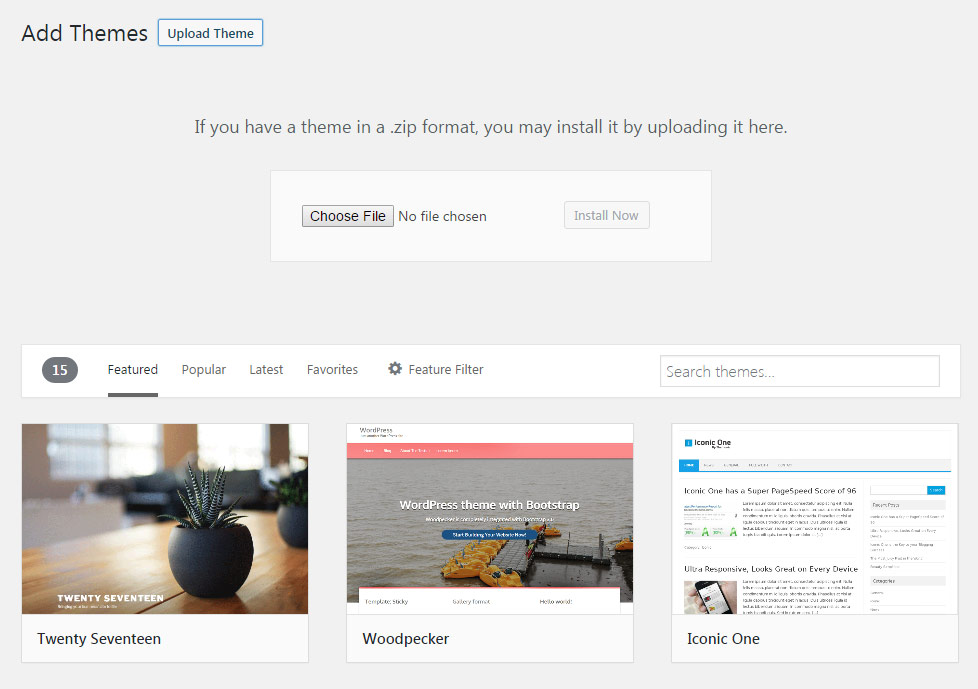
- Access the site’s Dashboard. You’ll find the default WordPress themes in
AppearanceThemessection. - Click
Add newUploadand then select the dfd-native.zip archive from the main themeforest-19200310-native-powerful-startup-development-tool folder.
Note! You do NOT have to upload the themeforest-19200310-native-powerful-startup-development-tool.zip archive to install the theme, only the inner theme archive.
- Run the importer and wait till all the files are properly set on your server.
FTP Installation
- Access the server WordPress folders any convenient way (CPanel or any FTP-client).
- You’ll see the list of wp-admin, wp-content, wp-includes folders and files.
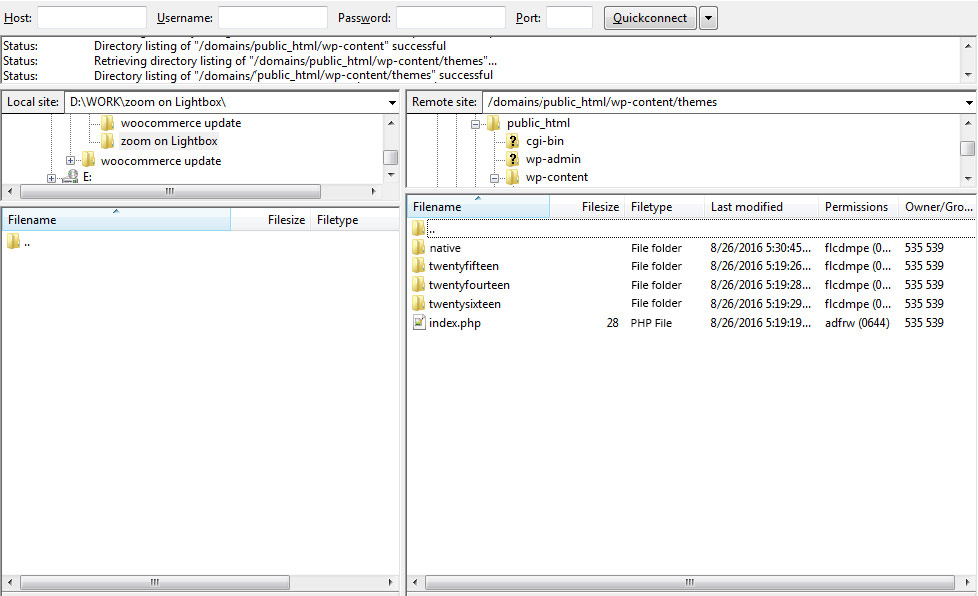
- Access the wp-content\themes\ folder and copy the theme files to it.
- You can firstly unzip the dfd-native.zip archive on your computer and then simply drag-n-drop the native folder to wp-content\themes\ folder.
- After this access the site’s Dashboard. You’ll find the default WordPress themes in
AppearanceThemessection and activate the Native theme.
Theme activation
As soon as theme is activated in Appearance Themes section go to Native section and activate the theme with the purchase code.
After the theme is installed and activate proceed to the next – Setup wizard. It will take less than 5 minutes for your to install all the necessary plugins on the site.
Setup Wizard
It will install the required WordPress plugins and provide you with some information about the support.
In order to run the Setup Wizard, navigate to Appearance Setup Wizard section of your admin area. The new window with the setup will be opened.
Watch the video tutorial on plugins installation for more details.
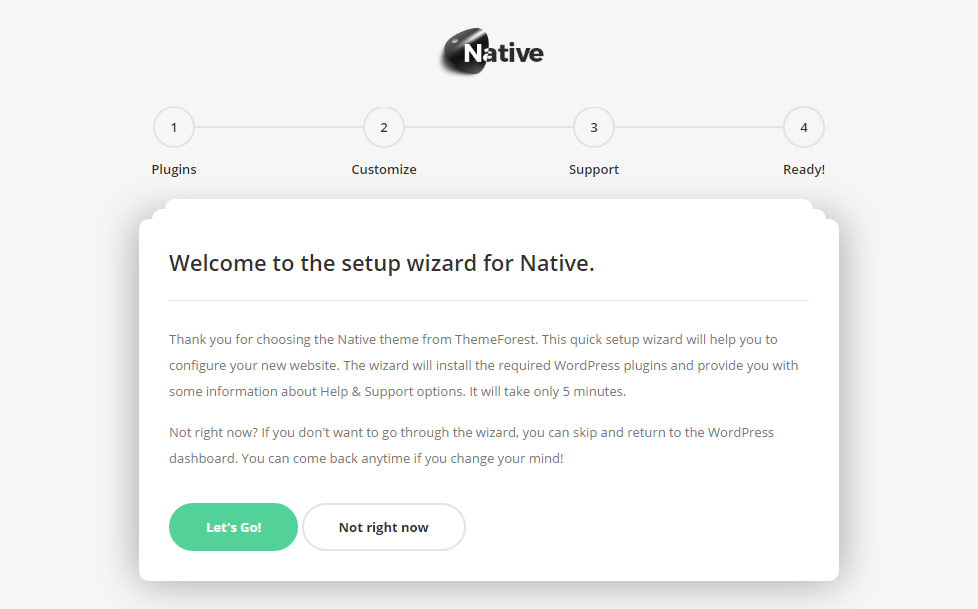
The setup is achieved in 4 steps only.
- Welcome to the setup wizard for Native.
In order to proceed, click on Let’s go! button.
- Plugins
Install all the required plugins for your site by pressing the Continue button. They will be automatically installed and activated on your site.

Special attention should be paid to DFD Extensions plugin which is required for the theme work. It contains all the shortcodes handcrafted for the Visual Composer plugin by DFDevelopment, as well as custom post types (such as portfolio and gallery items) and theme options section for customizing the appearance of your site. It is automatically activated via Setup Wizard and cannot be deactivated.
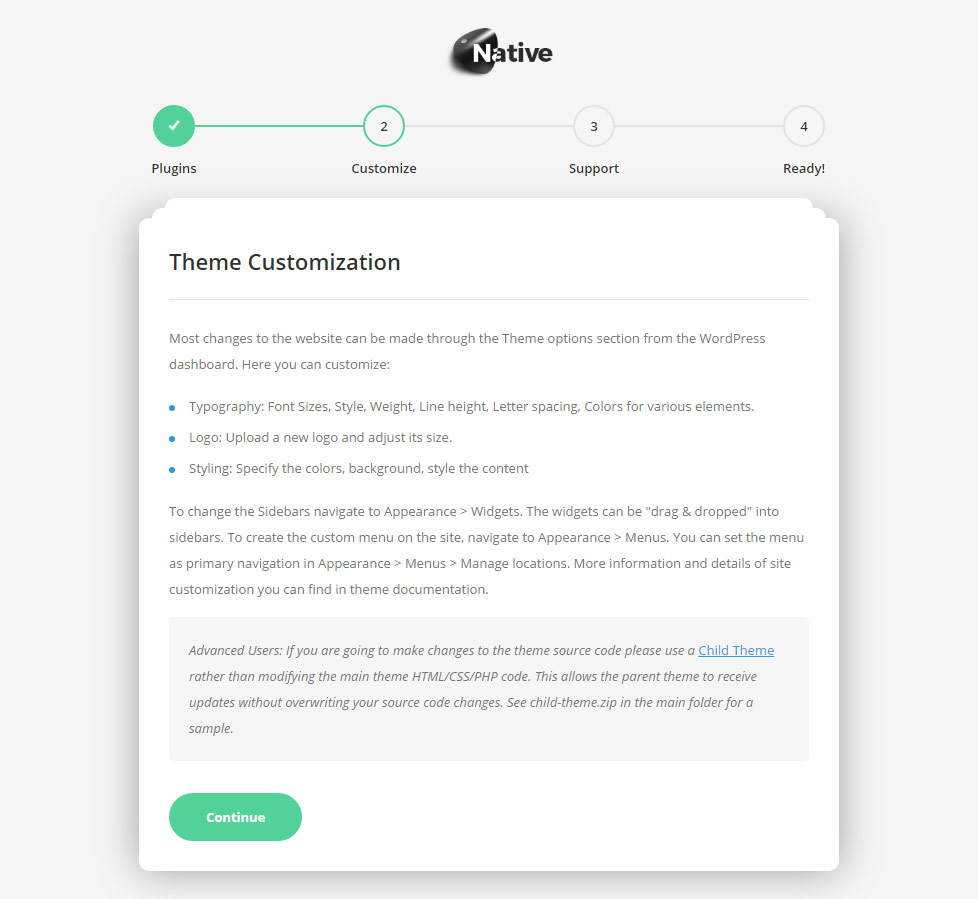
- Customization
Check the introductory information on theme customization.
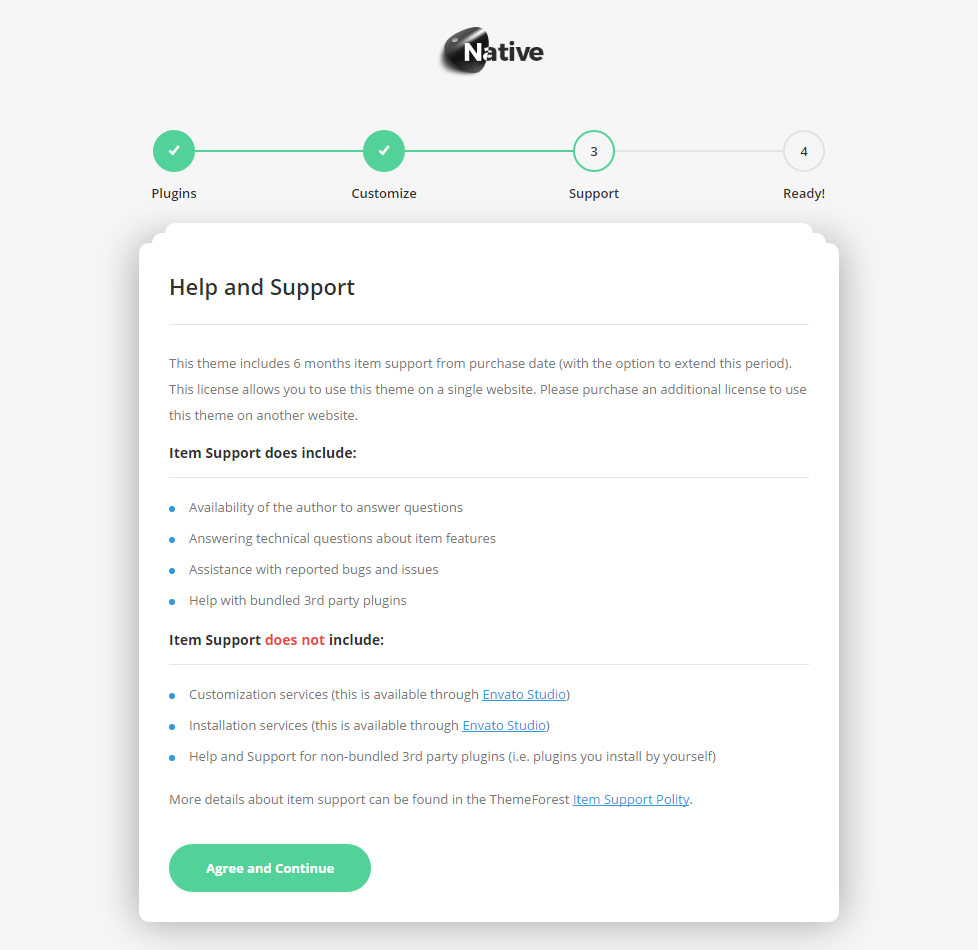
- Help and Support
This theme includes 6 months item support from purchase date (with the option to extend this period). This license allows you to use this theme on a single website. Check more information in Help & Support section of the Setup Wizard or below right now.
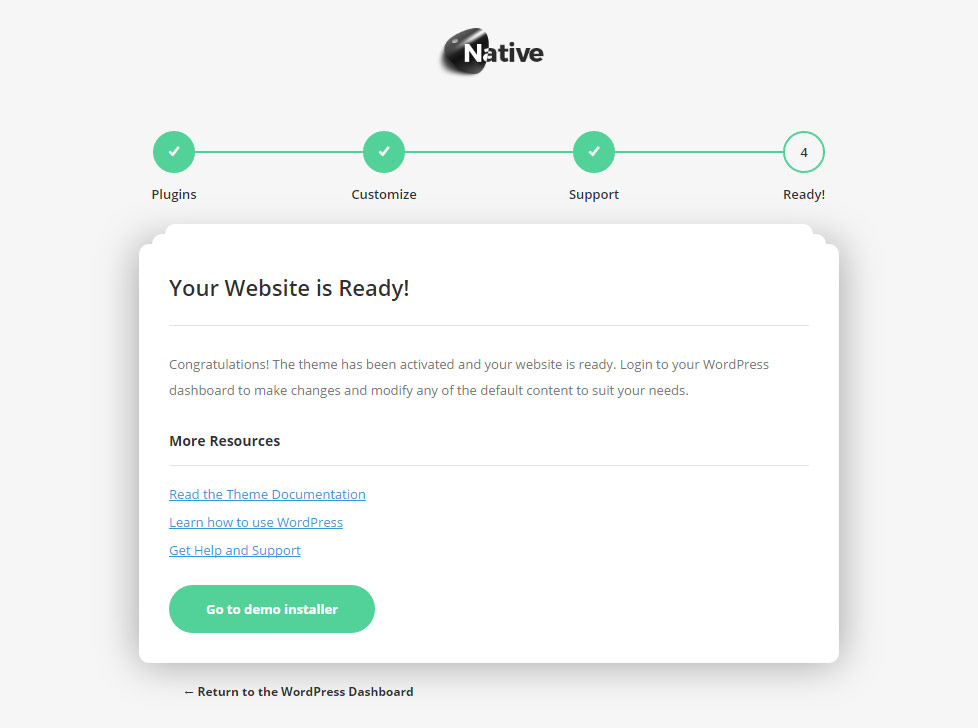
- Ready
Now all the required plugins are successfully installed on your site you may proceed to customize the theme options, creating pages, posts etc.