Sometimes our customers need to move the site to a new domain. Moving the WordPress site to a new host can be a bit stressful.
It should be done properly in order to avoid some annoying and unexpected errors. Below, you may find the detailed instruction on moving the site.
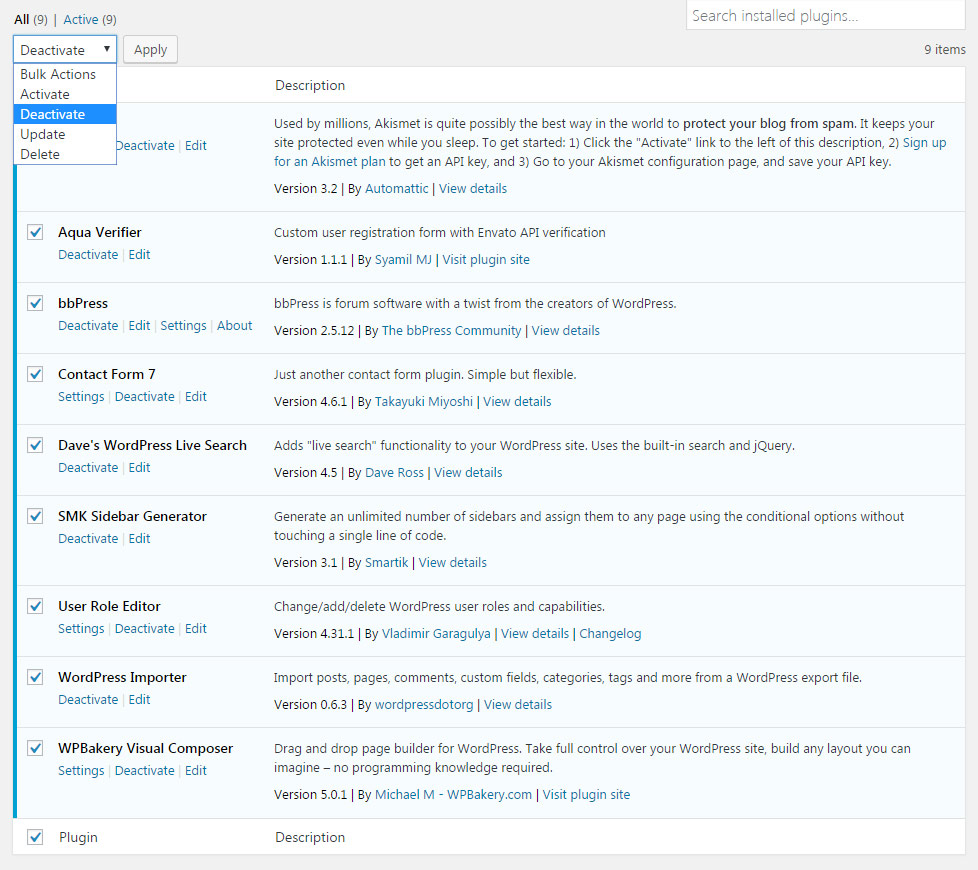
- Before you begin, deactivate all plugins. To deactivate all activated plugins, go to the
admin pagePluginsInstalled Plugins. Mark all the plugins and then deactivate them inBulk actionDeactivateApply.
- Back up the WordPress Database and Files.
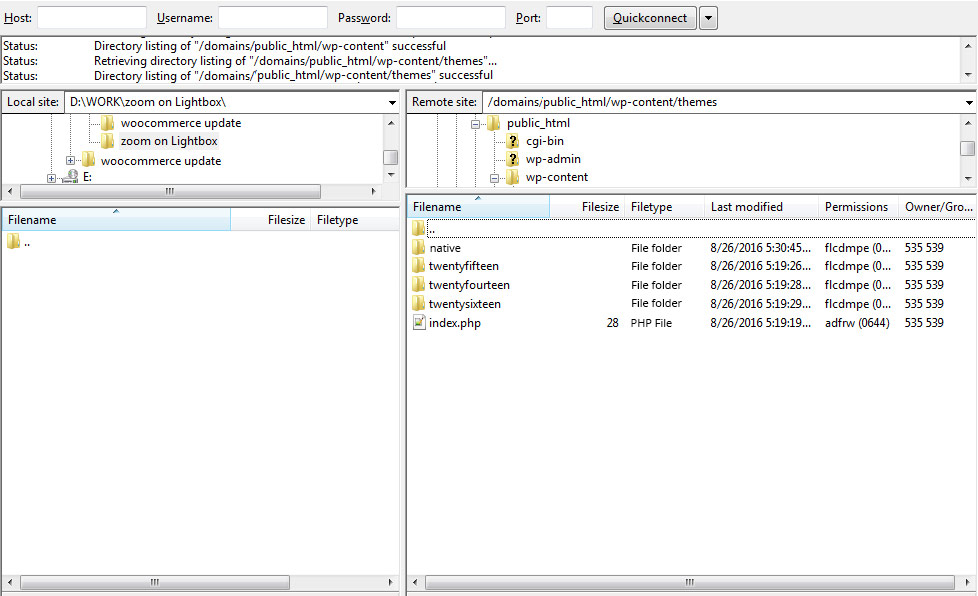
- To backup your files manually: download your complete WordPress installation folder so that you won’t lose anything. Using any FTP/SFTP client like FileZilla, log in to your host by FTP/SFTP and download your htdocs or public_html folder (or anywhere your WordPress installation resides).
- To back up your WordPress database manually: Log in to your phpMyAdmin, click on your WordPress database and select Export as shown in the image below.
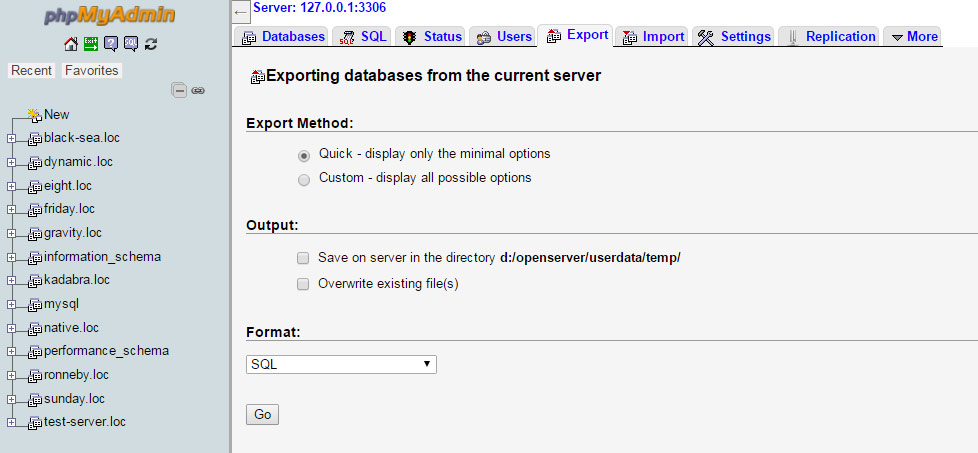
Ensure that you’re exporting in SQL Format and click Go. Your WordPress database will then be downloaded as a .sql file. It is recommended to save the downloaded SQL file to a special folder on your computer so that you can easily locate it later. You can also use the command line to export a copy of your database, you can find more information on that here.
- Create on your local machine clear database and make import from your exported file.
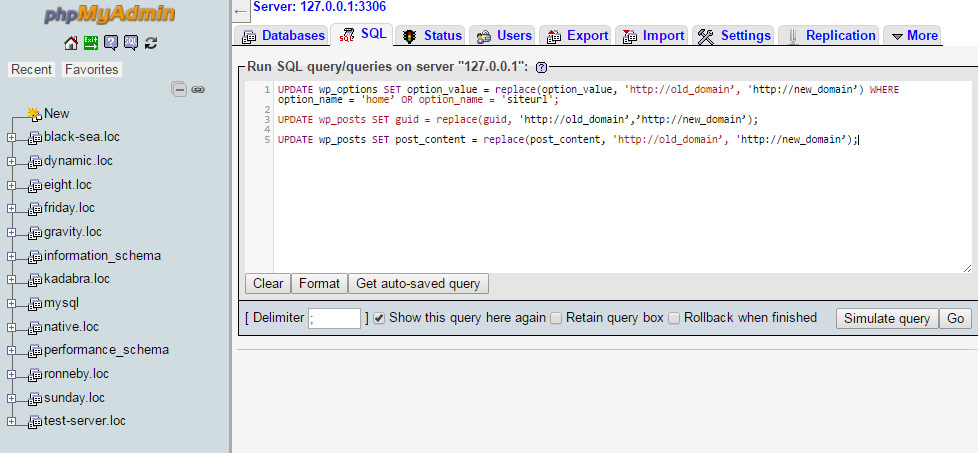
- Then go to SQL tab and execute next command:UPDATE wp_options SET option_value = replace(option_value, ‘http://old_domain’, ‘http://new_domain’) WHERE option_name = ‘home’ OR option_name = ‘siteurl’;UPDATE wp_posts SET guid = replace(guid, ‘http://old_domain’,’http://new_domain’);UPDATE wp_posts SET post_content = replace(post_content, ‘http://old_domain’,
‘http://new_domain’);Note! Change ‘http://old_domain’ to your old address and change ‘http://new_domain’ to your new address.
- Make Export of this local database.
- Then transfer all your WordPress files to the new domain and change the name of database in wp-config.php.
- Go to PHPMyAdmin and make import from database from p.3
- Go to
SettingsPermalinksand just click Save.
That is all. Your site is successfully moved.
Regards, DFD Support Team